By Timothy Hales | Updated: September 23, 2021

Table of Contents
Halloween is an exciting time of year for kids of all ages. Fall decorations start to come out by the beginning of October. Then we begin sneaking spiders, cauldrons, and skeletons throughout the house and yard. The anticipation builds as the search for the perfect costume begins. Looking at the nearest party store for a premade one, or putting the creative juices to work building your own costume. Sometimes wearing it every day until Halloween arrives and you get to collect a hefty stash of candy. But for those that are creative, it is the perfect chance to carve a pumpkin. Now is the time to breaking out those pumpkin carving kits to sculpt those masterpieces.
Pumpkin Carving Kits
In addition to the decorations, costumes, and candy there is the fun of carving a pumpkin into a jack-o-lantern. Finding the right pumpkin carving kit to create the best pumpkin on the block. With so many carving kit options out there, I’ve listed the top-selling pumpkin carving kits on Amazon below.

1 of 10
Pumpkin Punchers – Pumpkin Carving Kit For Kids
- Safe for Kids
- Easy Cleanup with Dishwasher
- Satisfaction Guaranteed

2 of 10
Elmchee Halloween Pumpkin Carving Tools
- Includes 13 Professional Pumpkin Carving Tools
- Ergonomically designed handle provides comfort and confidence in handling.
- Tools can be stored in the strong high-end leather bag.
- 100% Money Back Guarantee

3 of 10
CHRYZTAL Pumpkin Carving Kit Tools
- Includes 13 pieces
- Stainless steel tools
- Can be used by both adults and children

4 of 10
Comfy Mate Pumpkin Carving Kit
- Contains 17 pieces
- Anti-slip matte funny handle
- Stainless Steel blades
- Luxury handbag

5 of 10
SKINOSM pumpkin Carving Set
- This Pumpkin carving set includes 8 pcs
- Safe for children to use with no blade.
- No-Risk Purchase with an unconditional refund.

6 of 10
HOPOCO Halloween Pumpkin Carving Tools, 24 PCS
- Anti-Slip Matte Handle
- Kit contains durable stainless steel tools
- 100% Satisfaction Guaranteed

7 of 10
Juguhovi Pumpkin Carving Kit, Pumpkin Carving Tools, 11 Pcs
- Heavy Duty Stainless Steel
- Safe for Kids
- Makes carving easy.
- 11 Pcs pumpkin carving knifes + 4 Stencils + 1 Skull Storage Bucket

8 of 10
ButyHome Halloween Pumpkin Carving Kit, 11 Pieces with 12 Pumpkin LED Candles Lights
- High-quality stainless steel
- Pumpkin carving kit has an easy-to-grip handle
- Blades are sharp, sturdy and rust-proof
- Includes 12 LED candles

9 of 10
BOOtiful Carving Tools Pumpkin Carving Kit
- Each pumpkin carving bundle consists of 8 pieces
- Reusable carrying case
- Heavy pieces constructed of stainless steel
- Guaranteed not to break

10 of 10
D-FantiX Halloween Pumpkin Carving Kit
- Professional Pumpkin Carving Kit
- Premium Quality Stainless Steel
- Safe & Easy To Use
- Zippered nylon carrying case
Everything You Need To Know To Carve The Perfect Pumpkin
It’s time to say goodbye to summer and embrace the fall season. Time has flown by this year and it’s already time to wrap up warm again as autumn is already here.
With Halloween approaching quickly, it’s time to plan this year’s pumpkin carving. Will you go for a classic jack-o’-lantern look? Or is it time to get creative and use a pop culture reference to impress your friends?
Whatever style of pumpkin you choose, you need to know how to carve it properly. We’ve researched the best methods for carving a pumpkin so you don’t have to. Read on to find out the best tips and tricks for this Halloween.
Types Of Pumpkin Carving Tools
When carving a pumpkin, most would go to the kitchen and get a standard knife, but did you know there is a range of more specialized tools out there? If you want to carve your pumpkin well, try one of these options instead!
1. Keyhole Saw
Pumpkins have a tough outer shell, this makes them sturdy and great for carving, but it can be tough to cut with a standard kitchen knife. Try buying a keyhole saw to make the process easier for yourself. This saw features sharp teeth which slice through the outer shell easier and the flexible blade makes life easier for those creating extravagant shapes.
2. Cookie Cutters
Using a cookie cutter to carve a pumpkin may sound odd, but hear us out. Cookie cutters are great for creating neat designs and their sturdy shape works well when piercing the pumpkin shell. Add some fun stars or moon shapes to your pumpkin with simple cookie cutters!
3. Fleshing Tool
When carving a pumpkin, you need to remove the pulp and flesh from the pumpkin before you can get creative with your designs. A fleshing tool is a great way to easily remove any unwanted insides from the pumpkin easily and quickly. Don’t fuss about with a spoon – use one of these instead!
4. Melon Baller
Alternatively, a melon baller is another excellent tool to use when scooping out the inside of the pumpkin. Many will already own one of these, so it’s an easy-to-find tool for pumpkin carving events.
How To Choose A Pumpkin
Once you’ve gathered all of your pumpkin carving tools, it’s time to find the perfect pumpkin. To have the best pumpkin on the street, you’ve got to find the best one at the store!
When selecting a pumpkin, look for firm ones that will stay fresh for as long as possible. No one wants their pumpkin to rot days after they carved it! Look for pumpkins that feel firm, have a flat bottom, and are overall a healthy shape. A healthy pumpkin should sound hollow if you knock on it. Avoid any pumpkins with soft spots, imperfections, or discoloration, as this could signal rotting.
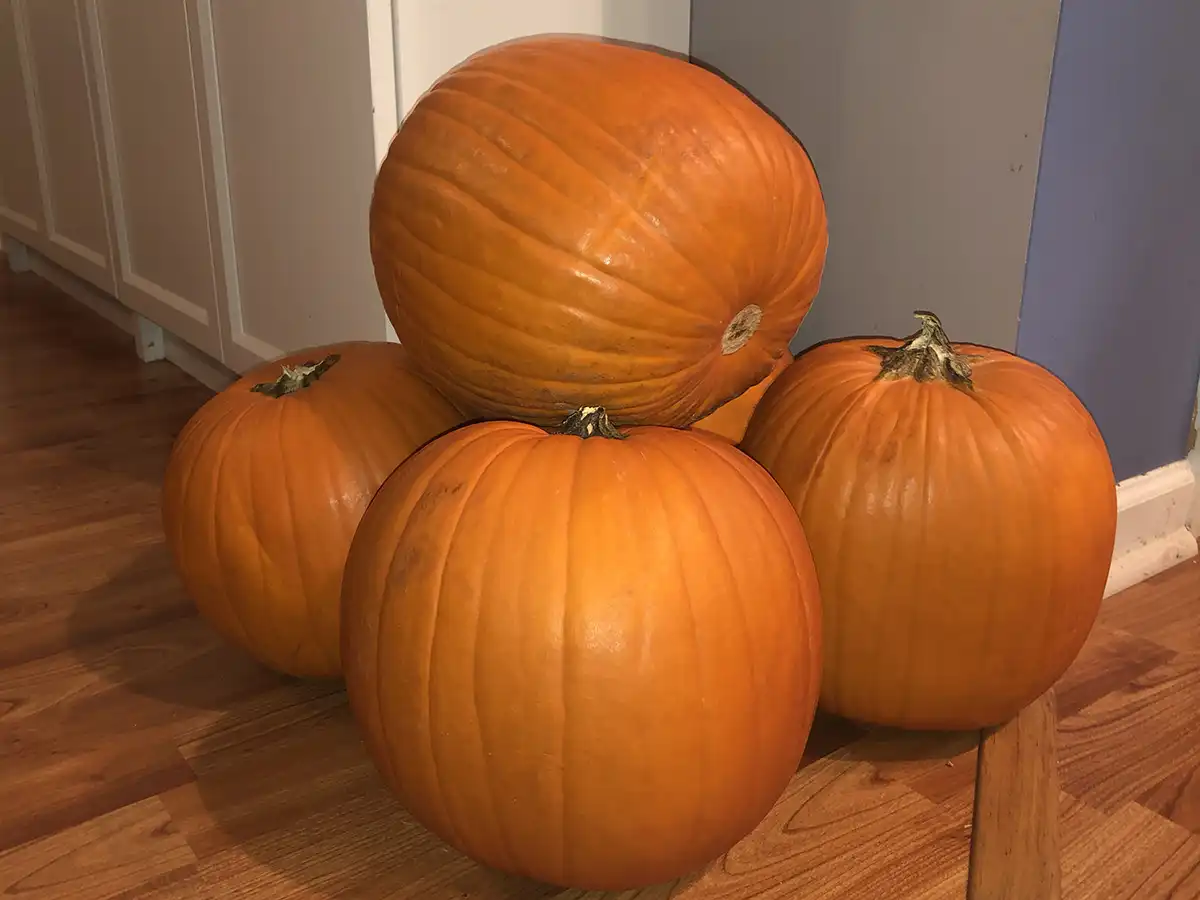
Also, look at the size of the pumpkin when you’re at the pumpkin patch. If you want to tackle a larger and more extravagant design, opt for a larger pumpkin to give you more surface to work with. It’s easier to add carving details on a larger surface rather than a smaller one. Alternatively, smaller pumpkins can be good for kids, giving them their own mini-pumpkins to play with.
How To Carve A Pumpkin
Now you’ve chosen the perfect pumpkin, get ready to prep it for carving. It’s usually best to do this outside or in the kitchen, so it’s easier to clean up any mess. Who wants pumpkin seeds all over their furniture?
Make sure you have all of your carving tools ready to start removing the inside of the pumpkin. Before starting with the design, you need to cut a “lid” and remove the pulp from the center so that the pumpkin is hollow. Try to cut around the pumpkin stem at an approximately 45-degree angle to ensure the “lid” section sits nicely on top of the pumpkin.
Now that the top of the pumpkin is removed, you can start removing the inner pulp. Once the bulk of the pulp is removed, use a melon baller or fleshing tool to scrape any excess from the pumpkin walls to make carving easier. Alternatively, you could do this process by cutting a hole in the bottom of the pumpkin, but this isn’t the style of a traditional pumpkin design.
When you’re prepped and ready to start carving, the next big question is, what will you create? This is the step where you can get into a creative flow and carve a masterpiece. Whether you’re going for a simple jack-o’-lantern look or creating a detailed design, this is the step where you should go for it and have fun!
A good tip for creating a detailed carving design is to use a stencil. You can print pumpkin guides from the internet, or you could draw your design out on a sheet of paper yourself. You can tape this paper to the pumpkin’s exterior, and you can use a sharp object (e.g., a punching tool) to mark the outline of the shape with dotted lines. When your outline is drawn, use your knife to remove the insides of the design. This method can save time and effort when you’re carving!
How To Illuminate A Pumpkin
Once you’ve prepped and carved your creation, it’s time to display it to the world!
There are various ways to display pumpkins, but candles are usually the traditional route. These give off a tremendous spooky look, perfect for any Halloween event. However, these can go out quickly if there’s any draft or wind, so you may want to avoid them if you want the pumpkin to be lit for an extended period.

Alternative options for lighting your pumpkin are LED lights in a tea light design. These options are small enough to fit inside of a pumpkin and will stay lit for longer. These are easy to use and also much safer. Another way to keep your pumpkin lit is with a glow stick; this can be a fun take on traditional pumpkins as you can change the color too.
How To Preserve A Pumpkin
Keeping a pumpkin fresh is key to making it last longer. Of course, as soon as you purchase a pumpkin, the clock starts ticking on how long it will last, so if you need one for an event, you should buy it very close to the time.
When carving your pumpkin, make sure you scrape the walls clear of any extra pulp, as removing this substance also prolongs the pumpkin’s life. Strive for a clear dry interior to preserve the pumpkin, making the walls easier to carve!
Other methods for keeping your design fresh are giving it an ice bath or keeping it inside a fridge when it’s not on display. Some even suggest using a bleach and water solution on the insides to keep it fresh for longer. These methods aren’t necessary if you buy your pumpkin close to Halloween, but if you’re planning on using your pumpkin for a few weeks, you may need to give it a refresh.
The Takeaway
Are you ready for Halloween? Hopefully, these tips have inspired you to embrace the season with a unique pumpkin design! Make sure you take the carving process slow and steady to ensure your design looks the best. Once you start carving, it’ll flow naturally in no time!
Have you carved a pumpkin before? Let us know how you carve in the comments!